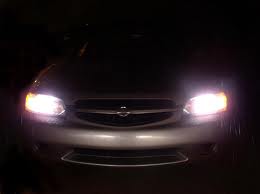
 Have you noticed its darker till later in the morning and earlier at night? Remember, use lights to be seen and don’t be shy on being first to switch on. being seen easily reduces risk.
Blog
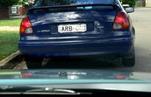
Avoid Driving While Invisible. Light up,and be seen!
Posted on 10.4.13
RGDS Glasgow – Driving Tyre Safety to Schools of People Across Glasgow
Posted on 10.3.13
With winter approaching, its a good time to check your tyres are in good conditiion. Look for visible tread across at least the central three quarters width of the tyre and around its whole circumference.
The recommended minimum depth of tread is 3mm. The legal minimum is 1.6mm.
At RGDS we believe that all drivers should be responsible for their vehicles, and know the law.
The Best Driving School in Glasgow Gets Another Great Pass!
Posted on 10.2.13
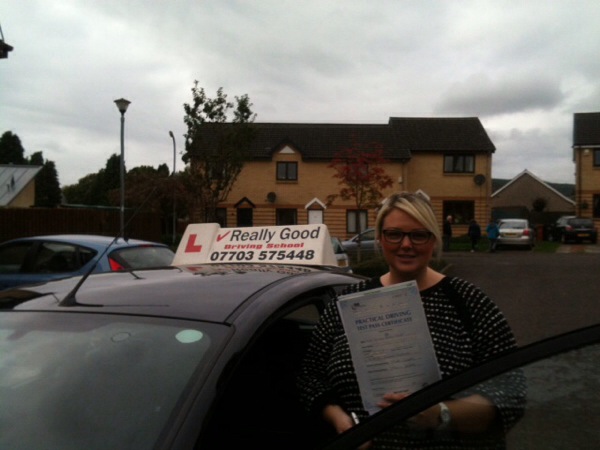
Viki is much more than a driving instructor, she is a confidence builder and an all round fantastic person. Viki is friendly, patient and amazing at her job and I cannot recommend her enough to anyone who is thinking of learning to drive. Being able to drive has changed my life for the better and that’s all down to viki’s hard work and making me believe in myself.
via PressSync
Useful Liks To Training Videos
Posted on 08.27.13
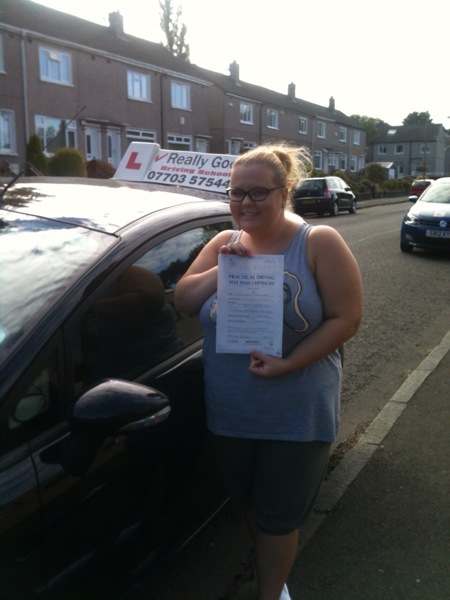
More RGDS Passes!
Posted on 08.15.13
Nicola – duntocher
Passes at anniesland only 2 minors
“Couldn’t have been more pleased with my driving lessons with Viki . Concise and reassuring – stress free driving !!!”
Would highly recommend RGDS.
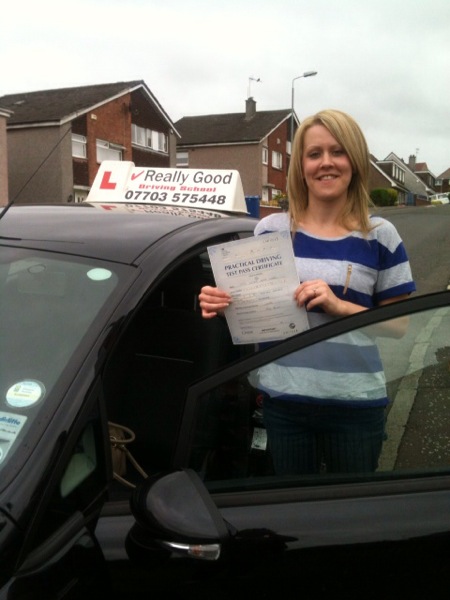
More Passes
Posted on 08.5.13
 Congrats to Sam McBride who passed today with only two driver errors. instructor Paul Stark is very proud of you!
Stopping Safely
Posted on 08.5.13
Location, Location, Location!
You will need to locate a place to park that does not contravene the law, and is both safe and convenient for all. There are many places to avoid parking, such as the brow of a hill or on a bend, or where there are double yellow lines etc.
FIND A SAFE PLACE! 
Look up the Highway Code as a reference as it gives good advice on parking. Your driving instructor will also guide you in this matter.
 M.S.M. Routine
On locating a safe place to park, now follow the Mirror, Signal, Manoeuvre procedure to stop safely.
Mirrors
Use the mirrors to decide if it is safe to pull into the left and stop, and also if a signal is needed. This can be done by observing in the rear view mirror initially then the left door mirror.
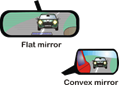
Remember the rear view mirror gives the “true distance” that something is behind you, whereas the door mirror is made of convex glass and things can look further away.
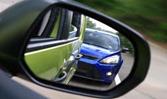
Look out for following traffic in your rear view mirror and note their distance from you. In the door mirror look out for a cyclist or pedestrian coming up on your left. Now you have decisions to make.
”TAILGATING” IS ONE OF THE MOST COMMON CAUSES OF ACCIDENT
SEE AND DO
 What you see really determines what you should do. A close vehicle directly behind or a following motorcyclist or cyclist to the left of your vehicle could mean that giving an early operation of the left indicator is needed. This will give traffic time to react to your intentions. Also, you may have to spread out your braking gently over a longer distance to minimise risk of a rear end collision. In extreme circumstances, it could be necessary to drive on and look for another parking opportunity-better safe than sorry!
To Signal or Not To signal?
To park on the left consider the use of a left signal. The mirrors will tell you if there is any type of following traffic, but you also need to scan ahead and to the sides for any oncoming traffic, traffic waiting to emerge at junctions, or pedestrians in the vicinity who may benefit from your signal. Signal if there is anyone who could benefit from knowing your intentions. Even if you do signal and there is no-one around it won’t do any harm.
Be really careful not to signal if there is a road on your left before where you intend to park. Doing so could easily result in traffic pulling out in front of you as they will think you are turning left into their road. In this scenario leave your signal until you are half way past the road on the left.
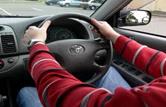
Manoeuvring
The three stages of manoeuvring are: Position, Speed, Look.
Position:
A BIT TOO CLOSE!
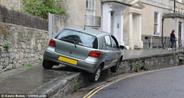
THAT’S BETTER!
Assuming your vehicle is positioned about a metre from the kerb, you will be aiming to park much closer to the kerb – roughly the length of ten to fifteen centimetres away. This will mean easing towards the kerb in a gradual, easy line. To do this, usually less than a “quarter turn” of steering towards the kerb is necessary.
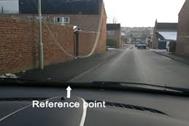
Your instructor may give you a “parking reference guide” to help you judge the cars distance from the kerb. As this point is reached turn the steering wheel smoothly to the right of “centre” to get the vehicle parallel.
Arriving parallel to the kerb, finally return the steering to “centre.” The car should now be rolling in straight alignment with the kerb.
Speed:
Avoid bringing the car in close to the kerb while travelling at speed, rather take your speed down smoothly before and during moving in.
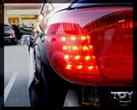
Apply the footbrake lightly initially, doing so will operate the brake lights and give following traffic warning of your slowing down. Progressively increase braking pressure, aiming to slow the car evenly. When almost stopped, release most of the pressure from the footbrake, which allows the car to stop really smoothly.
The clutch pedal should be pressed down towards the end of the stop – about jog pace – which prevents the engine stalling.
After stopping, apply the handbrake then select neutral.
Look:
PEDESTRIANS “ON THE EDGE!”
When parking stay observant, especially look for pedestrians at or near the kerb.
Mission Accomplished!

Practice with your “Really Good” instructor until you can park safe and smooth.
Hazard Perception Test Advice
Posted on 08.3.13
U.K. Hazard Perception Test – What You Need to Know
The hazard perception element of the U.K. theory test was introduced in November of 2002. In order to try and lessen the worrying amount of accidents sustained by new drivers during their first year of driving in comparison to more experienced drivers, Government ministers authorised this element of the test in an attempt to raise new drivers awareness and anticipation of road hazards.
The Hazard Perception Test Format
Currently, the “H.P.” part of the theory test consists of fourteen video clips. All the clips will contain hazards, and the candidate will be scored on how quickly they identify the hazard. In order to pass this element, candidates must achieve a minimum of 44 points out of a possible 75. For every clip the top mark is 5, however on one film clip there will be two “scoreable” hazards and therefore 10 points are achievable on this. The test is generated on a computer screen and candidates need to click a mouse when seeing a hazard – please note the mouse does not need to be pointed at the screen to score points.
Technique
It is important to remember that every time the viewer sees a hazard develop, they click. It could easily be that candidates recognise more than one hazard in a clip but they do not know which one is the “scoreable” one, therefore, click at all recognised developing hazards. All the hazards currently used on the test are moving hazards.
Avoid random clicking or repeated “rhythm” clicks. The software used for the test will detect this and discredit the candidate’s response. If this happens, the candidate will receive no points for that clip. The current pass mark is 44 out of 75.)
Practice
There are many different ways to prepare for the hazard perception test. On practical lessons, driving instructors may ask you to identify potential hazards, and through effective scanning skills you can practice hazard recognition.
A number of software companies produce c.d. roms designed similar – but not exactly the same – as the official test clips. This helps students get used to the test format and most of these products offer feedback on test performance, showing where the hazards were located when replayed and displaying scores for each clip.
In more recent times Apps. are now easily available for smart phones and offer a portable practice solution.
Test
A good indicator of h.p. test readiness can be gained through using the above resources. If however, scores achieved are falling below the test pass standard, more practice and help will be required. All good driving instructors can offer help and guidance in this regard.
Lighten Up
Posted on 08.1.13
Looking outside this morning, the weather can only be described as dull – common for a Glasgow summer!
On my first driiving lesson in Clydebank today i may have to ask my pupil if they feel it necessary to use lights. Their answer should be an emphatic YES.
It is important to be seen clearly, and in insurance claims two constant questions are “weather conditions at time of accident?” and “were lights used?”
if your vwhicle is therefore more visible, there is statistically less chance of someone colliding into your vehicle.